You'll need a steady hand and keen eye to fix that broken chain like the pros do. Start by examining the damage under magnification, then thoroughly clean the repair area. Select matching materials and solder grade before carefully opening and aligning the broken links. After precise soldering, polish to restore the original shine. Finally, test the repair's strength using industry-standard methods. These proven steps have helped jewelers successfully repair thousands of cherished pieces.
Examining the Chain and Damage Assessment

When you first notice your precious chain has broken, that pit-forming moment in your stomach can feel overwhelming.
That sinking feeling when your cherished chain snaps – it's a moment every jewelry lover dreads and understands.
You'll want to resist the urge to immediately fiddle with the damaged pieces. Instead, carefully place your chain on a clean, well-lit surface – preferably a white cloth or jeweler's pad where you won't lose any tiny fragments.
Next, you'll need to assess the break's severity using a magnifying glass. Look closely at the damaged links, noting whether they're merely separated or if there's actual metal fatigue.
You might spot microscopic wear patterns or stressed areas that weren't visible before. Don't forget to check the clasp mechanism and surrounding links – sometimes what appears to be a simple break actually reveals underlying weakness in multiple spots.
Cleaning and Preparing the Repair Area
Three essential steps stand between you and a properly prepared repair surface for your broken chain.
First, you'll need to meticulously clean the damaged area using a specialized ultrasonic jewelry cleaner, which will remove any hidden oils or debris that could compromise the repair.
Next, you'll want to carefully examine the break site under intense magnification – those tiny surface imperfections you can't see with your naked eye could spell disaster later.
Finally, you'll apply a degreasing solution to guarantee ideal bonding conditions.
I know it's tempting to skip these prep steps when you're anxious to fix your precious piece, but trust me – I've learned the hard way that rushing through this stage only leads to failed repairs and more heartache.
Your chain deserves this thorough attention to detail.
Selecting the Right Repair Materials
Since choosing the wrong repair materials can destroy your cherished chain forever, you'll need to be incredibly precise with your selection process. Your heart might race as you contemplate the delicate task ahead, but don't panic – I'll guide you through this nail-biting process step by step.
| Material Type | When to Use |
|---|---|
| Solder Grade | Fine chains: extra-easy flow Medium chains: easy flow Heavy chains: medium flow |
| Jump Rings | Small repairs: 14k matching metal Emergency fixes: sterling silver Temporary solutions: gold-filled |
| Flux Options | Paste flux: precise control Liquid flux: better coverage Gel flux: best adhesion |
You'll want to match the metal type exactly – it's a make-or-break decision that'll determine whether your repair succeeds or fails miserably. Trust me, I've seen countless chains ruined by mismatched materials.
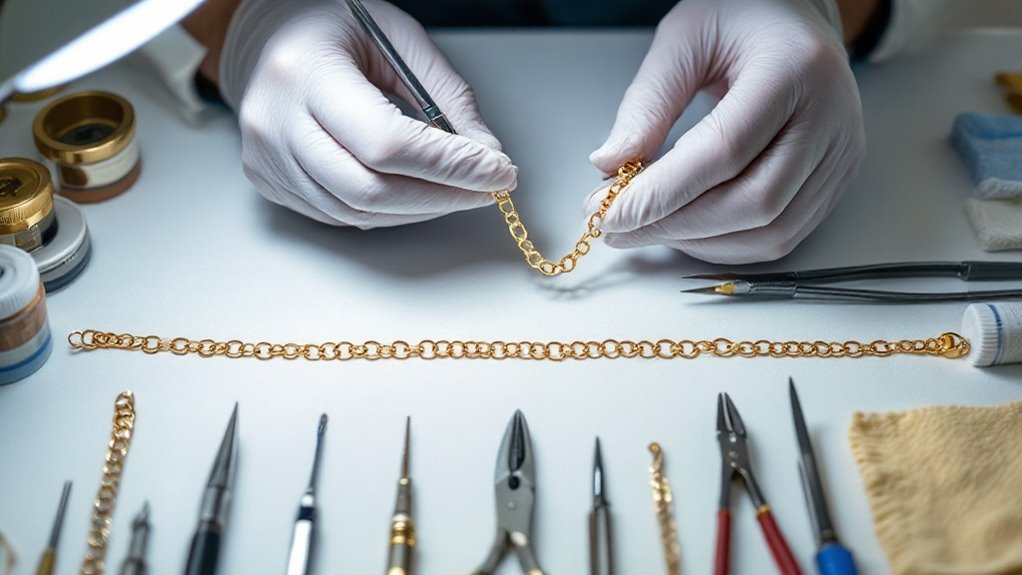
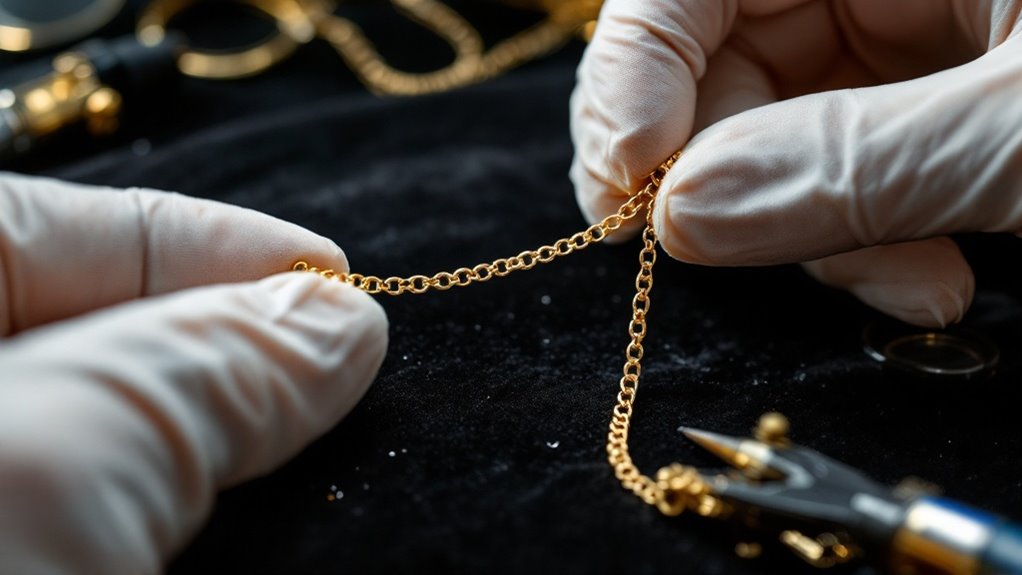
Opening and Aligning Broken Links
Before you even think about reaching for your tools, locating the exact break point in your precious chain will make your palms sweat – it's that essential.
You'll need your most reliable pair of chain-nose pliers and steady hands that aren't trembling from that third cup of coffee.
Once you've found the break, you'll notice how the fractured links mock you with their jagged edges.
Don't let them intimidate you. Gently grasp each side of the broken link, feeling the cool metal between your fingers as you carefully manipulate the opening.
The trick is to spread the link just enough – too much force and you'll distort it beyond repair.
As you align the broken ends, they should nestle together like puzzle pieces finding their home.
Your heart might skip when they finally click into place.
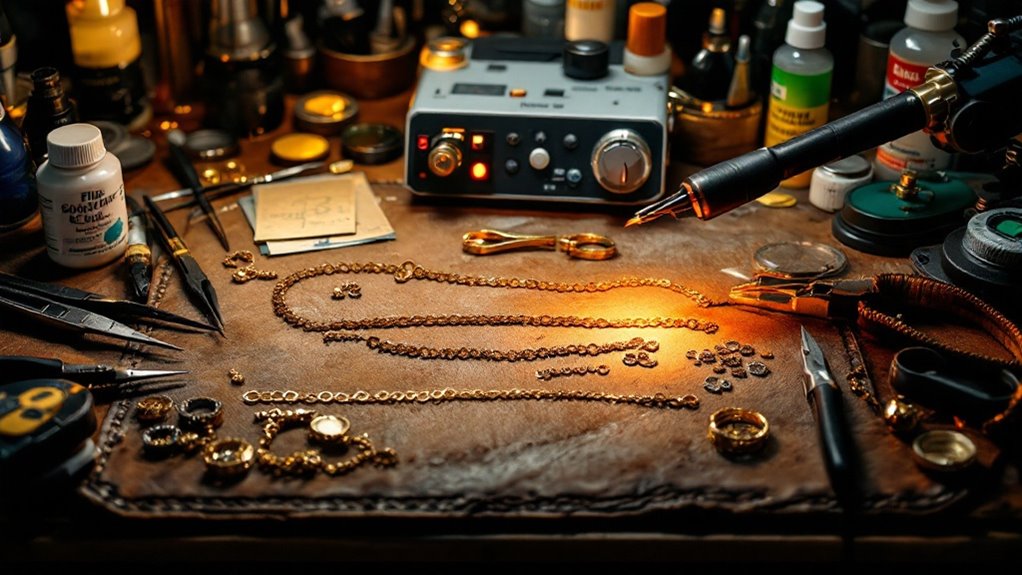
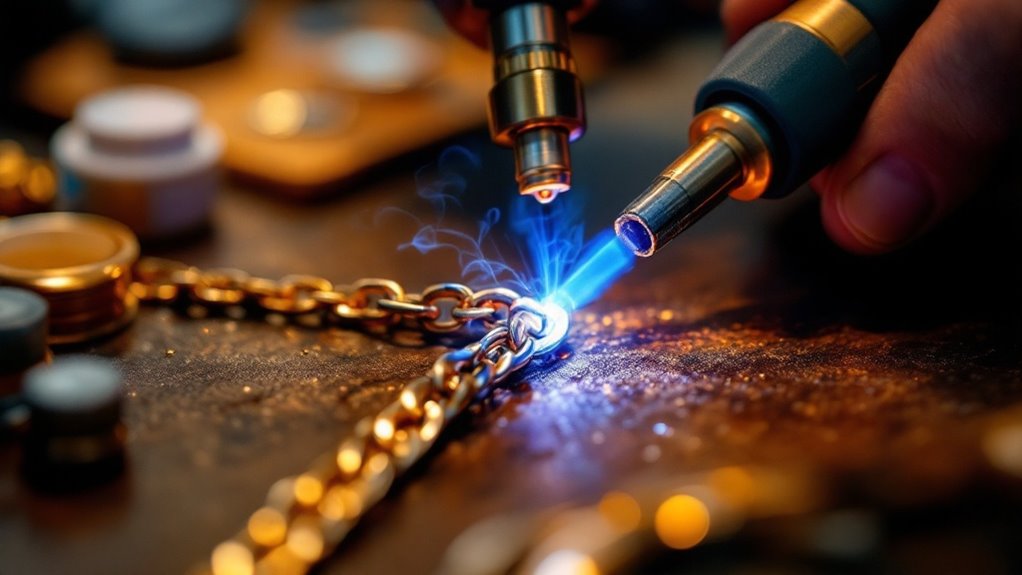
Soldering the Connection Points
Preparing your soldering station feels like arming yourself for battle, with each tool representing another line of defense against failure.
You'll need your micro-torch, flux, and that precious sliver of solder that's no thicker than a strand of hair.
Position the broken chain ends with surgical precision – they've got to align perfectly, or you'll end up with a weak joint that'll snap faster than your patience.
As you apply the flux, your hands might shake a bit; it's normal, we've all been there.
The moment of truth comes when you bring that blue flame close to the metal. Watch carefully as the solder flows like liquid mercury, seeking its path through the joint.
If you've done everything right, you'll see that satisfying capillary action drawing the molten metal exactly where it needs to go.
Polishing and Restoring Surface Finish
Three critical stages define the polishing process, and you can't afford to rush through any of them.
You'll start with pre-polishing to remove deep scratches, then move to the main polish that'll restore the chain's luster, and finally execute that perfect mirror finish.
Trust me, I've seen countless chains ruined by impatient hands rushing through these steps.
- Begin with a medium-grit polishing wheel, working systematically across each link.
- Switch to your rouge-loaded muslin wheel for that initial shine.
- Use the high-speed felt wheel with ultra-fine compound for brilliance.
- Finish with a delicate microfiber buffing wheel, ensuring no compound residue remains.
Your heart might race as that final shine emerges – it's like watching a masterpiece reveal itself.
The chain's surface should now catch light like dewdrops on morning grass.
Testing Chain Strength and Durability
Each repaired chain must endure rigorous testing before it returns to your neck or wrist – I've learned this lesson the hard way after watching a client's precious heirloom snap during a wedding ceremony. You'll want to check your repair's durability using these standardized tests:
| Test Type | Force Applied | Duration | Pass/Fail Criteria |
|---|---|---|---|
| Tension | 5-7 lbs | 30 seconds | No link separation |
| Torsion | 90° twist | 10 seconds | No deformation |
| Flex | 45° bend | 20 cycles | No stress marks |
| Impact | 6-inch drop | Single drop | Links stay intact |
Don't skip these vital checks – I've seen too many rushed repairs fail at the worst moments. You'll need to gently pull, twist, and flex the chain while watching for weak spots. Listen carefully for the telltale clicking that signals a compromised link.
Conclusion
As they say, "A chain is only as strong as its weakest link." You've now learned how jewelers transform broken chains into wearable treasures again. Whether it's your grandmother's cherished necklace or that special bracelet you thought was lost forever, you're equipped with the knowledge of professional repair techniques. While it takes practice to master these skills, you'll find satisfaction in breathing new life into damaged jewelry.